Laser Cutting
Week 2
The Idea
In week two, we were introduced to laser cutting. When thinking of ideas for the project, I have tried searching the web for inspiration. However, none of the designs really stuck with me. Then I remembered my long fascination with interesting and rare plants. That is when I thought it would be a challenging, and interesting idea to try to model my own plant.
When it comes to rare species, the Dendrophylax lindenii is a tried-and-true classic for plant enthusiasts. It is classified as a critically imperiled species of orchid, meaning there are less than 1000 flowers in nature. It has also been featured in Netflix shows such as Wednesday or Superstore.
The Design
I designed the model in Fusion360. The entire project was made parametric, meaning the dimensions could be fine-tuned after the model was finished. Since we didn’t know the material thickness or the beam width, these parameters were measured in the shop and specified later.
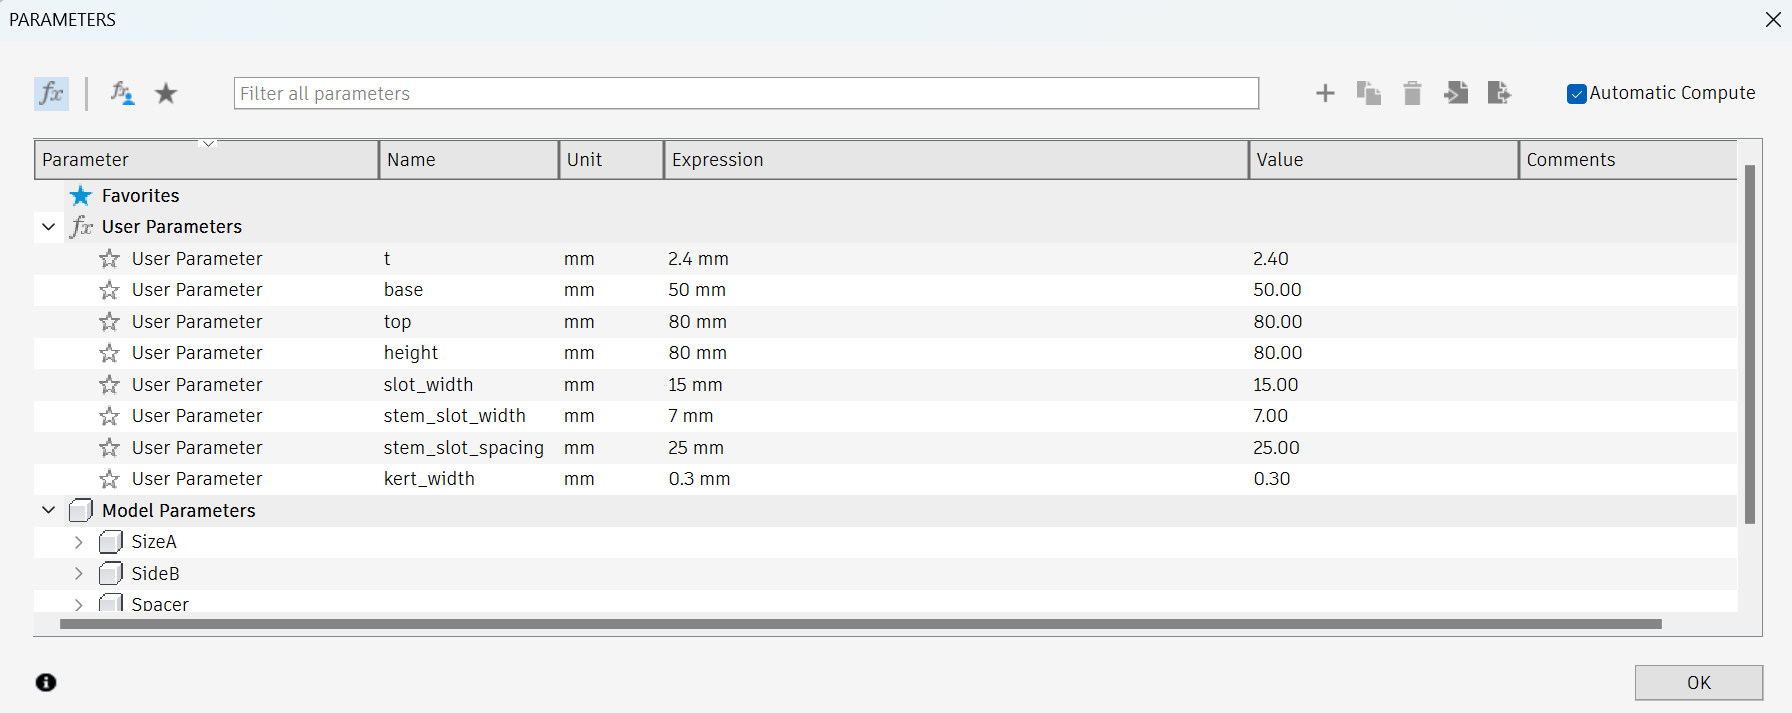 Defined parameters inside Fusion360
 Finished Project Render
 Stem Design
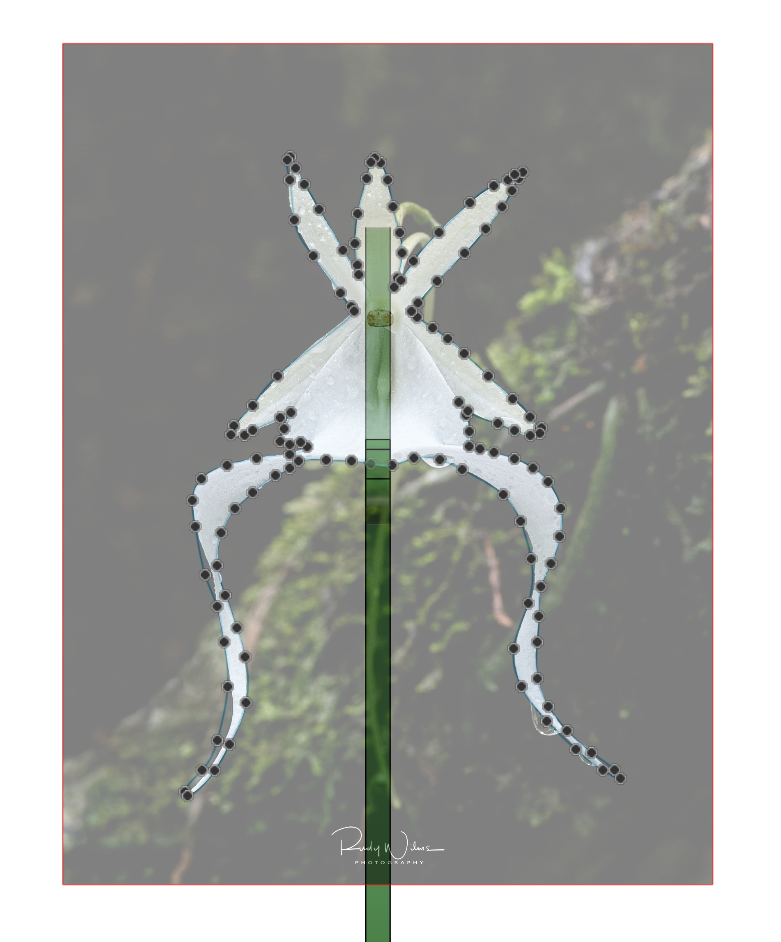 Flower Design
To keep the design as authentic as possible, the shape of the stem and the flower were traced from pictures. The dimensions of the orchid were taken from Wikipedia, which specified a width of 3-4 cm and a height of 7-9 cm.
The flower pot was designed using the loft function in Fusion360. To keep the model simple, the bottom and the top faces were parallel to the origin planes. Since the walls are at an angle, having them flush with the origin plane introduced a small discrepancy on one side of the model. The same effect happened when designing the top part of the flower pot. However, since we are working with cardboard, the small inaccuracies could be neglected.
 Section analysis in Fusion360 of the Lid and the Side of the flower pot. The top side of the Lid is longer than the bottom side as indicated by the arrows
Manufacturing
I have used two laser cutters to create the cardboard model. The majority of the parts were cut on the Epilog laser cutter. The other laser in the shop is the Fab Creator laser cutter, which has very similar parameters to the Epilog laser. After adjusting the width of the slot to account for the laser diameter, I used the Fab Creator to cut out the second version of the Stem. From my experience, I have felt only miniscule differences between both machines and the only thing that separated them was the user interface.
Since cardboard can be easily cut, I have set the power of the laser to 50% and the speed was kept at 100%. To arrive at these values, I have started with both parameters set to 100% and then iteratively lowered them to a reasonable value, where the laser could still cut the material. If the laser can cut through the material a general rule of thumb is to lower the power of the laser and not the speed.
 Fab Creator Laser Cutter
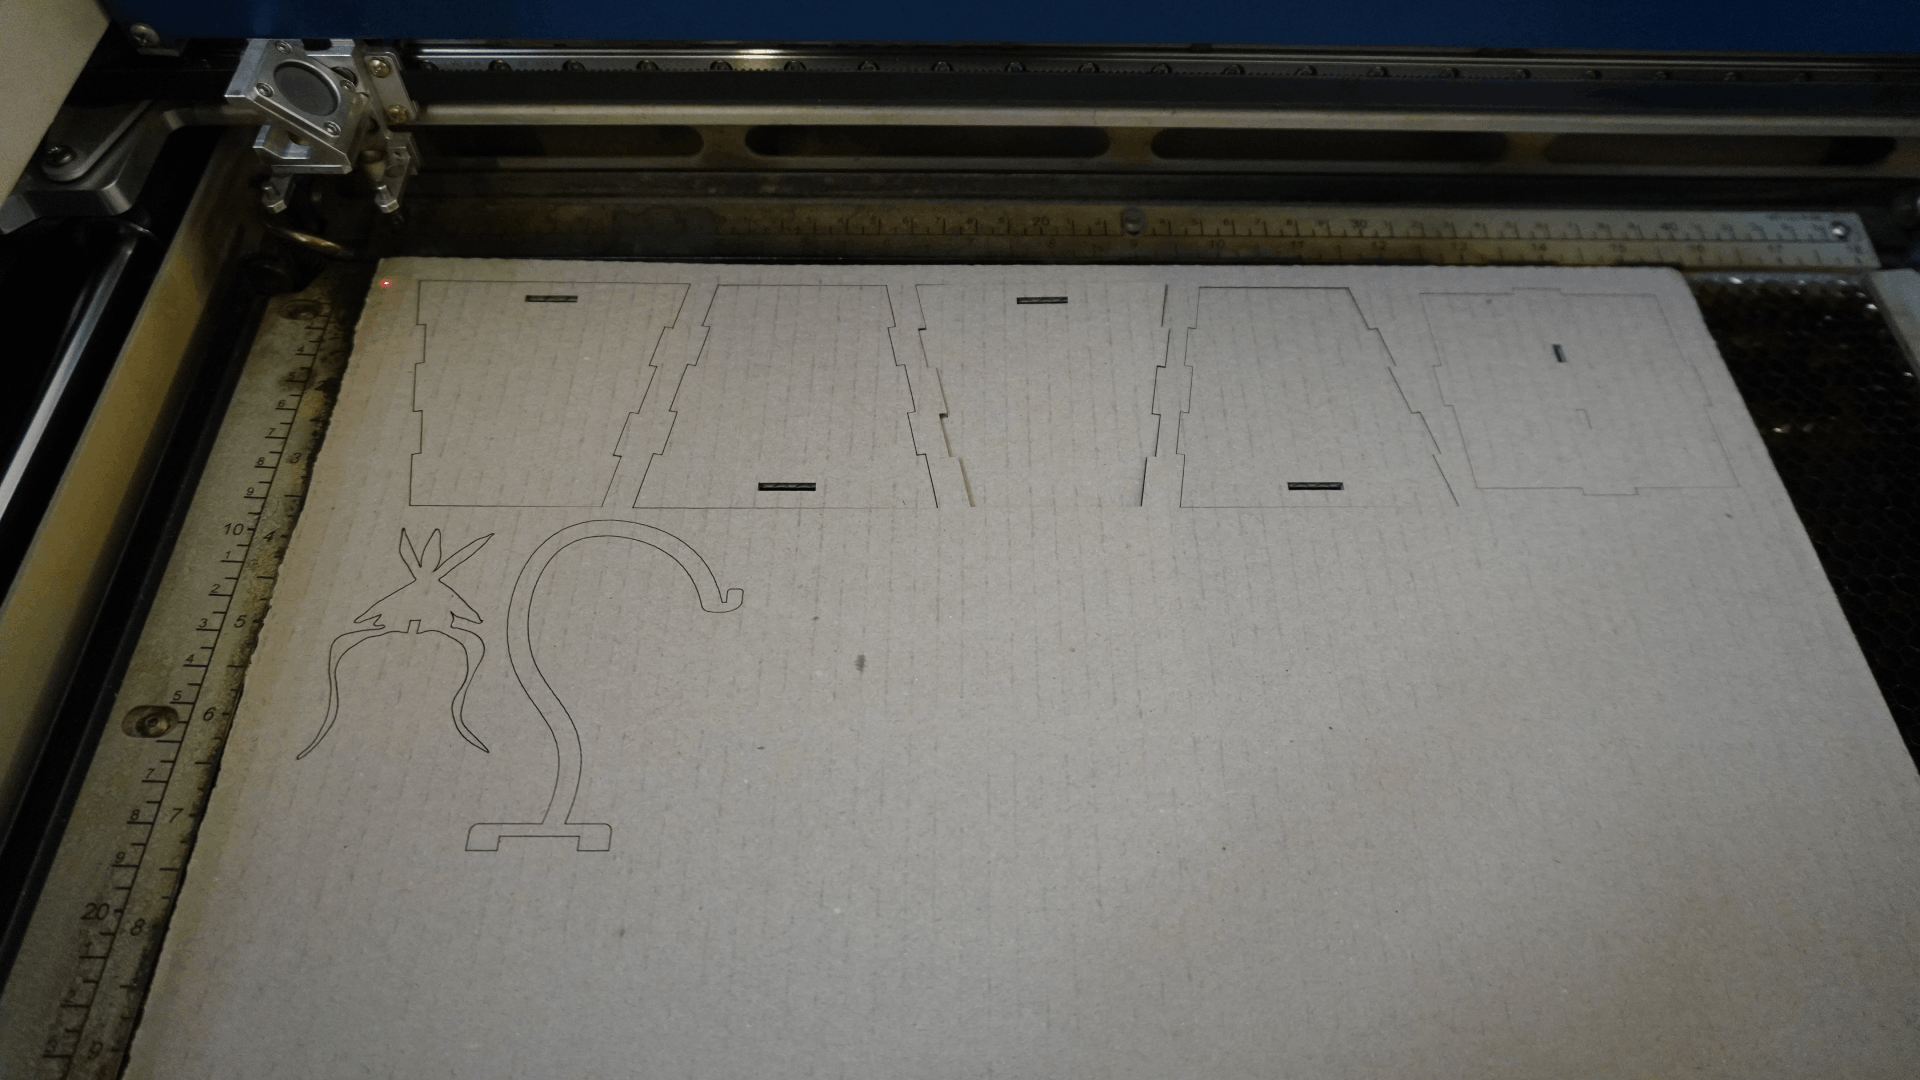 Cardboard after cutting
 Assembled Cardboard Model
Vinyl Cutter
The second activity was making custom stickers. When thinking of an idea I remembered a favorite spot on our campus. Since the water in Prague is regarded as "not the best", LOKNI filtration stations, where you can draw filtered sparkling water are quite popular. My friends and I have seen a few military posters next to the machine, and since our faculty began a partnership with Lockheed Martin not so long ago, we have a running joke about the advertisement next to the machine. I reckoned it would be a funny idea to twist the name LOKNI into Lockheed Martin.
To make the sticker, I downloaded a .svg logo of the company and rearranged the letters in Photoshop. Next step was just a matter of exporting the file into .dxf and sending it to the vinyl cutter. After the cutting, I used a tiny hook to remove all the unwanted pieces of the foil. The last step was applying the transfer tape to the sticker, which allowed me to keep all the letters aligned properly.
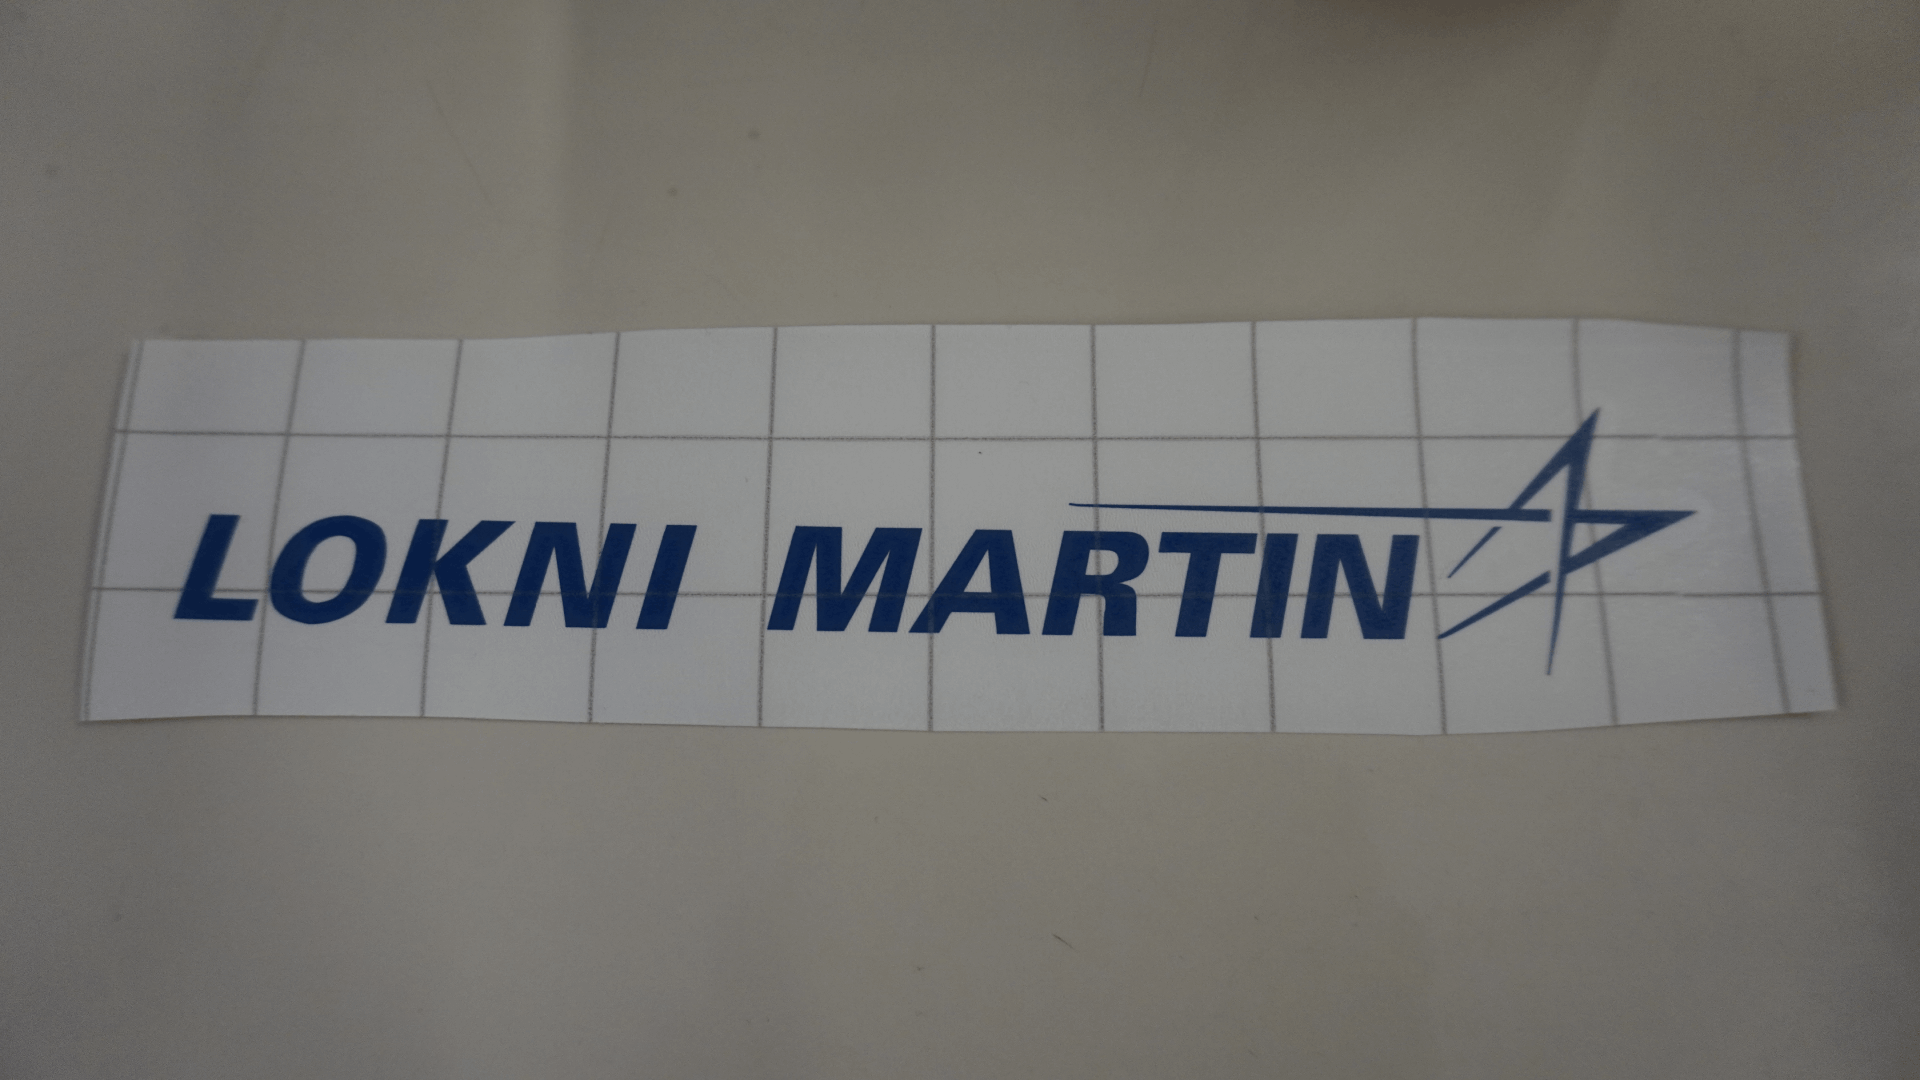 Lokni Martin sticker with the transfer tape applied
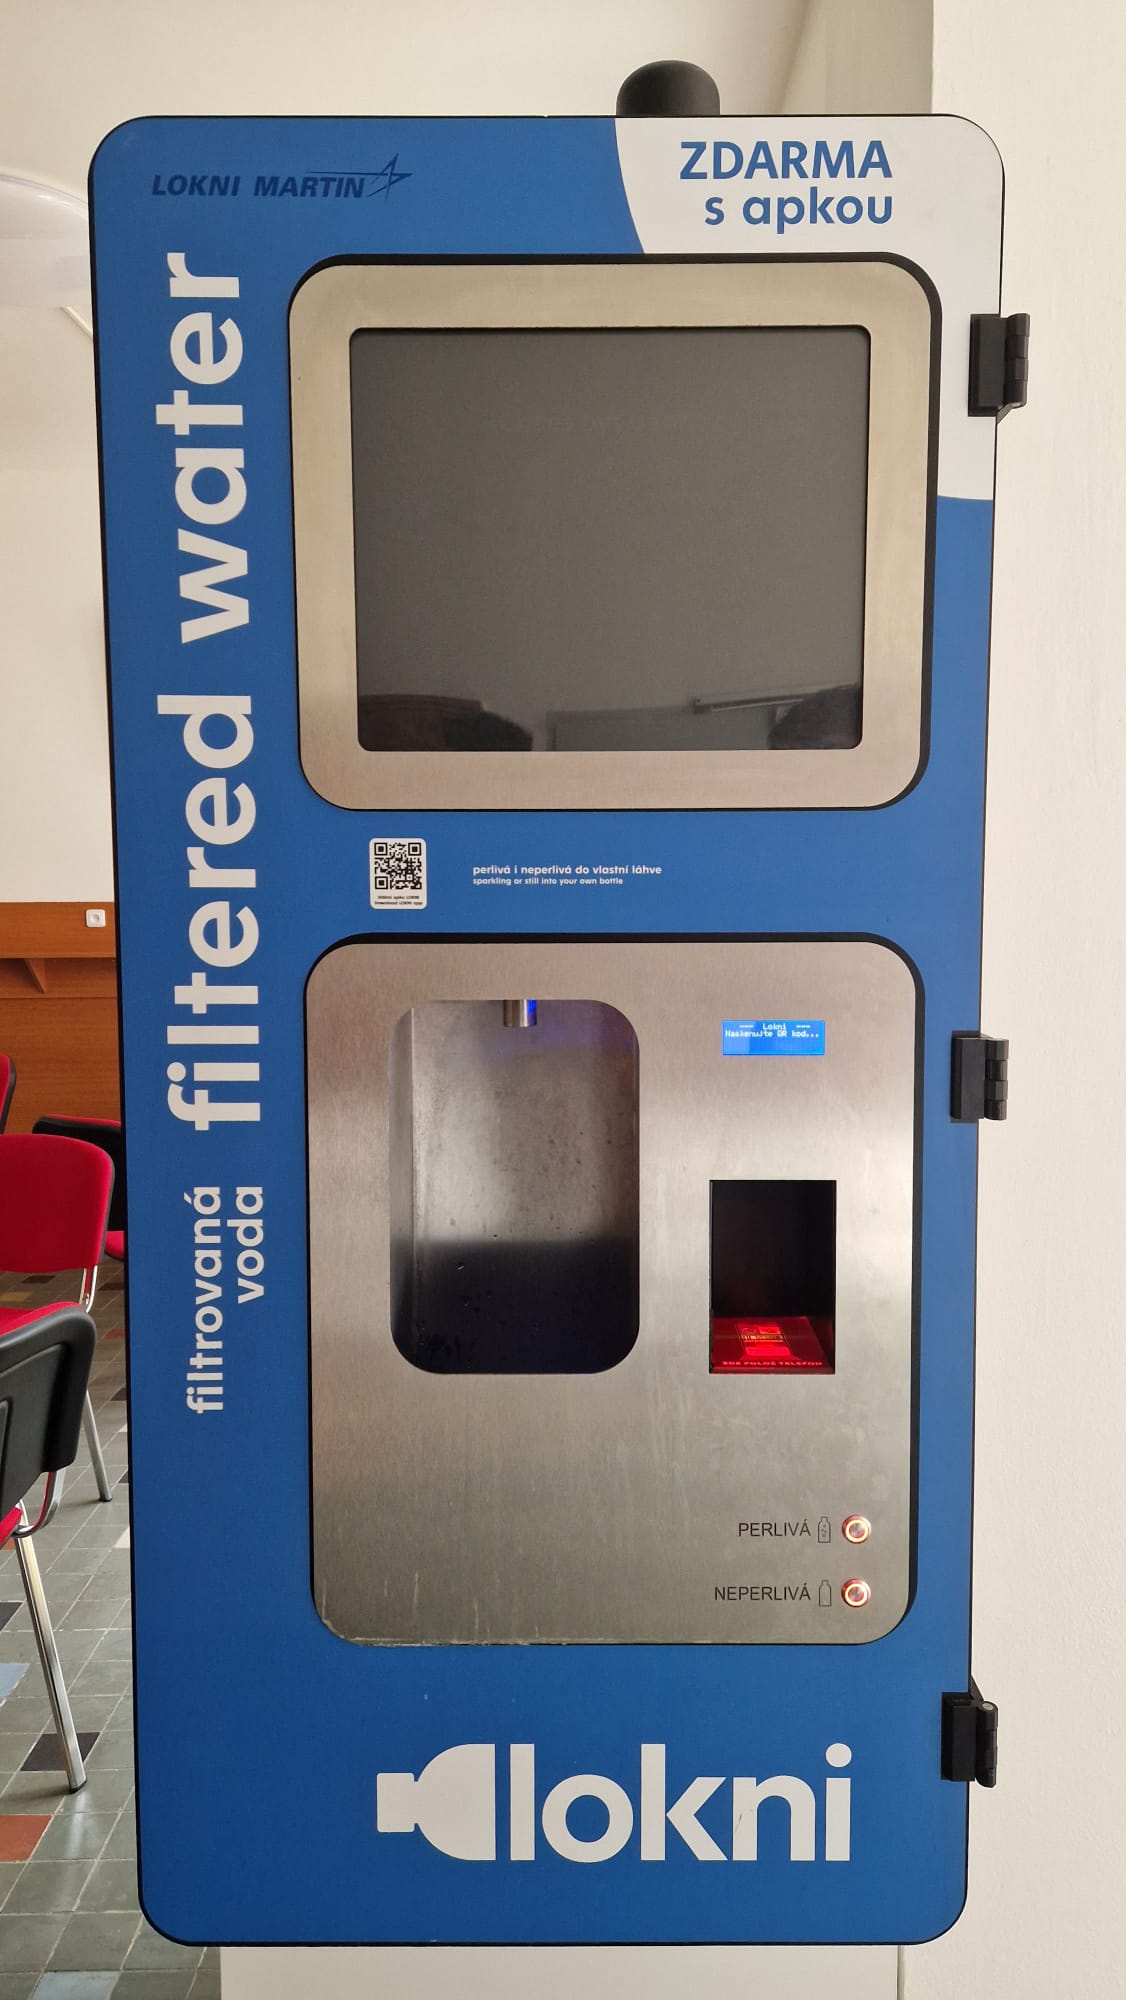 Lokni Machine with the Sticker
